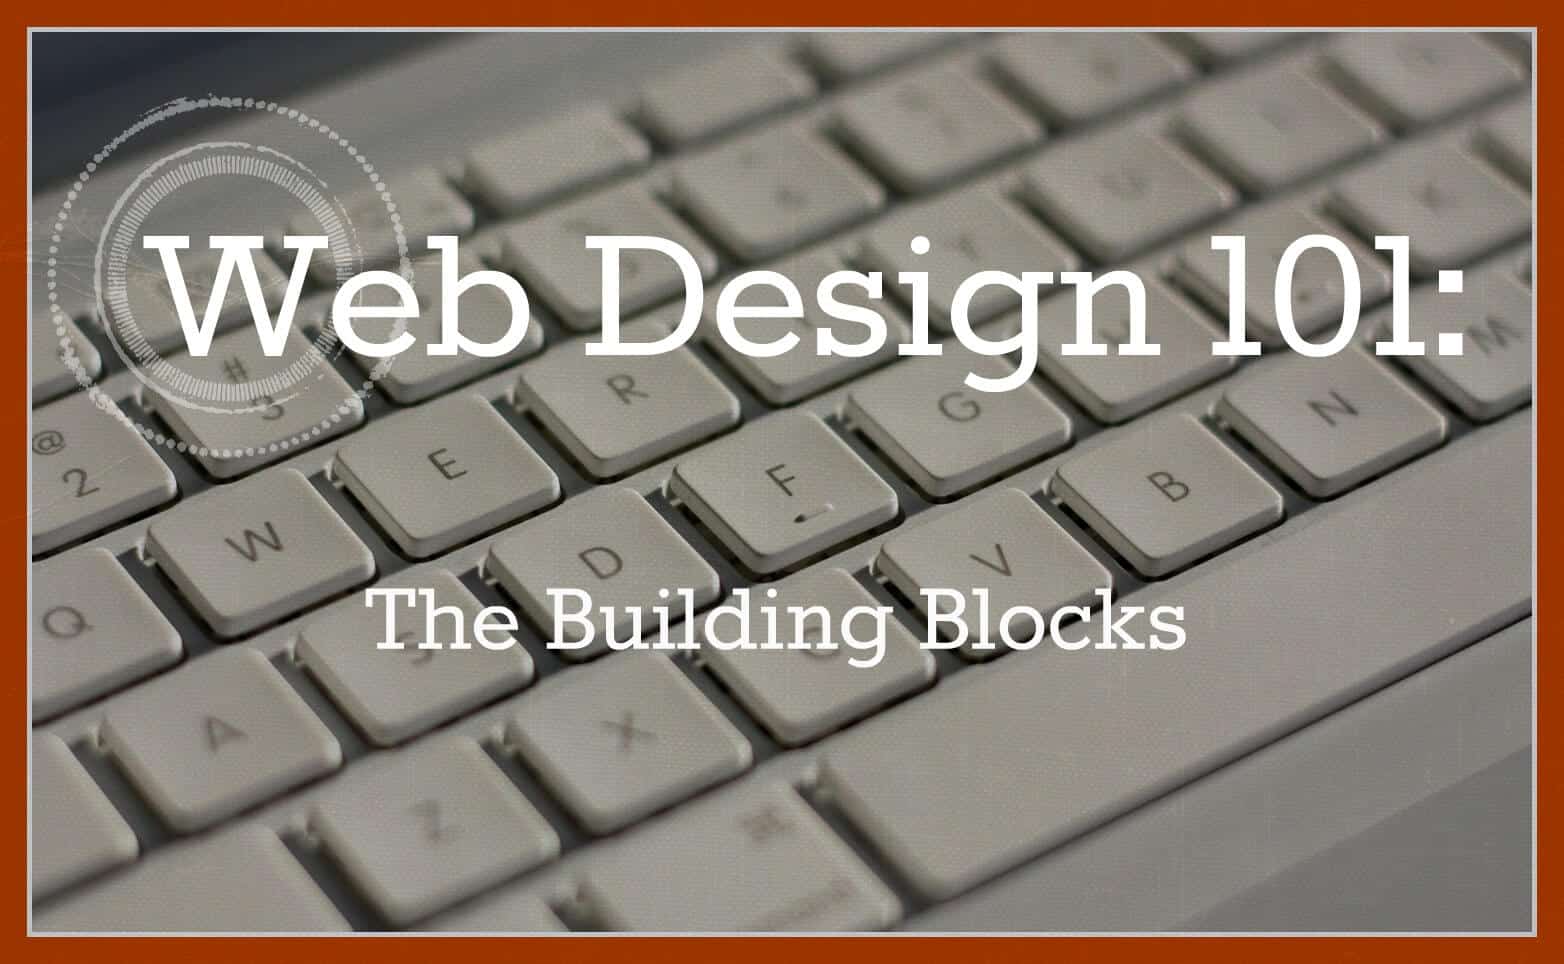
You’ve probably seen them: those eye-catching images people add to their blog posts (like the one above). And if you’ve been paying attention to the newest social media tactics, you may be aware that visuals are the best way to get people to notice you.
Facebook posts and tweets are more likely to be shared when an image is involved, and Pinterest’s sole existence is images.
Maybe you’ve been wanting to include a cool graphic to your small business blog, but don’t have the design team (or the Photoshop skills) to pull it off. Look no further! Creating a great title image for your blog or website couldn’t be any easier with Picmonkey.
Step One: Select an Image
Since Picmonkey is a photo-editing software, you need to start out with a photo. You can take one yourself, or use a stock photo. (Normally, we don’t like using stock photography on websites, but blogs are different.) We like to use Stock.XCHNG because it’s easy, free, and full of great images.
Update (4/13/2017): I currently use Pixabay or Pexels for my blog posts headers and images. There’s a larger variety and the images are much more “modern” looking.
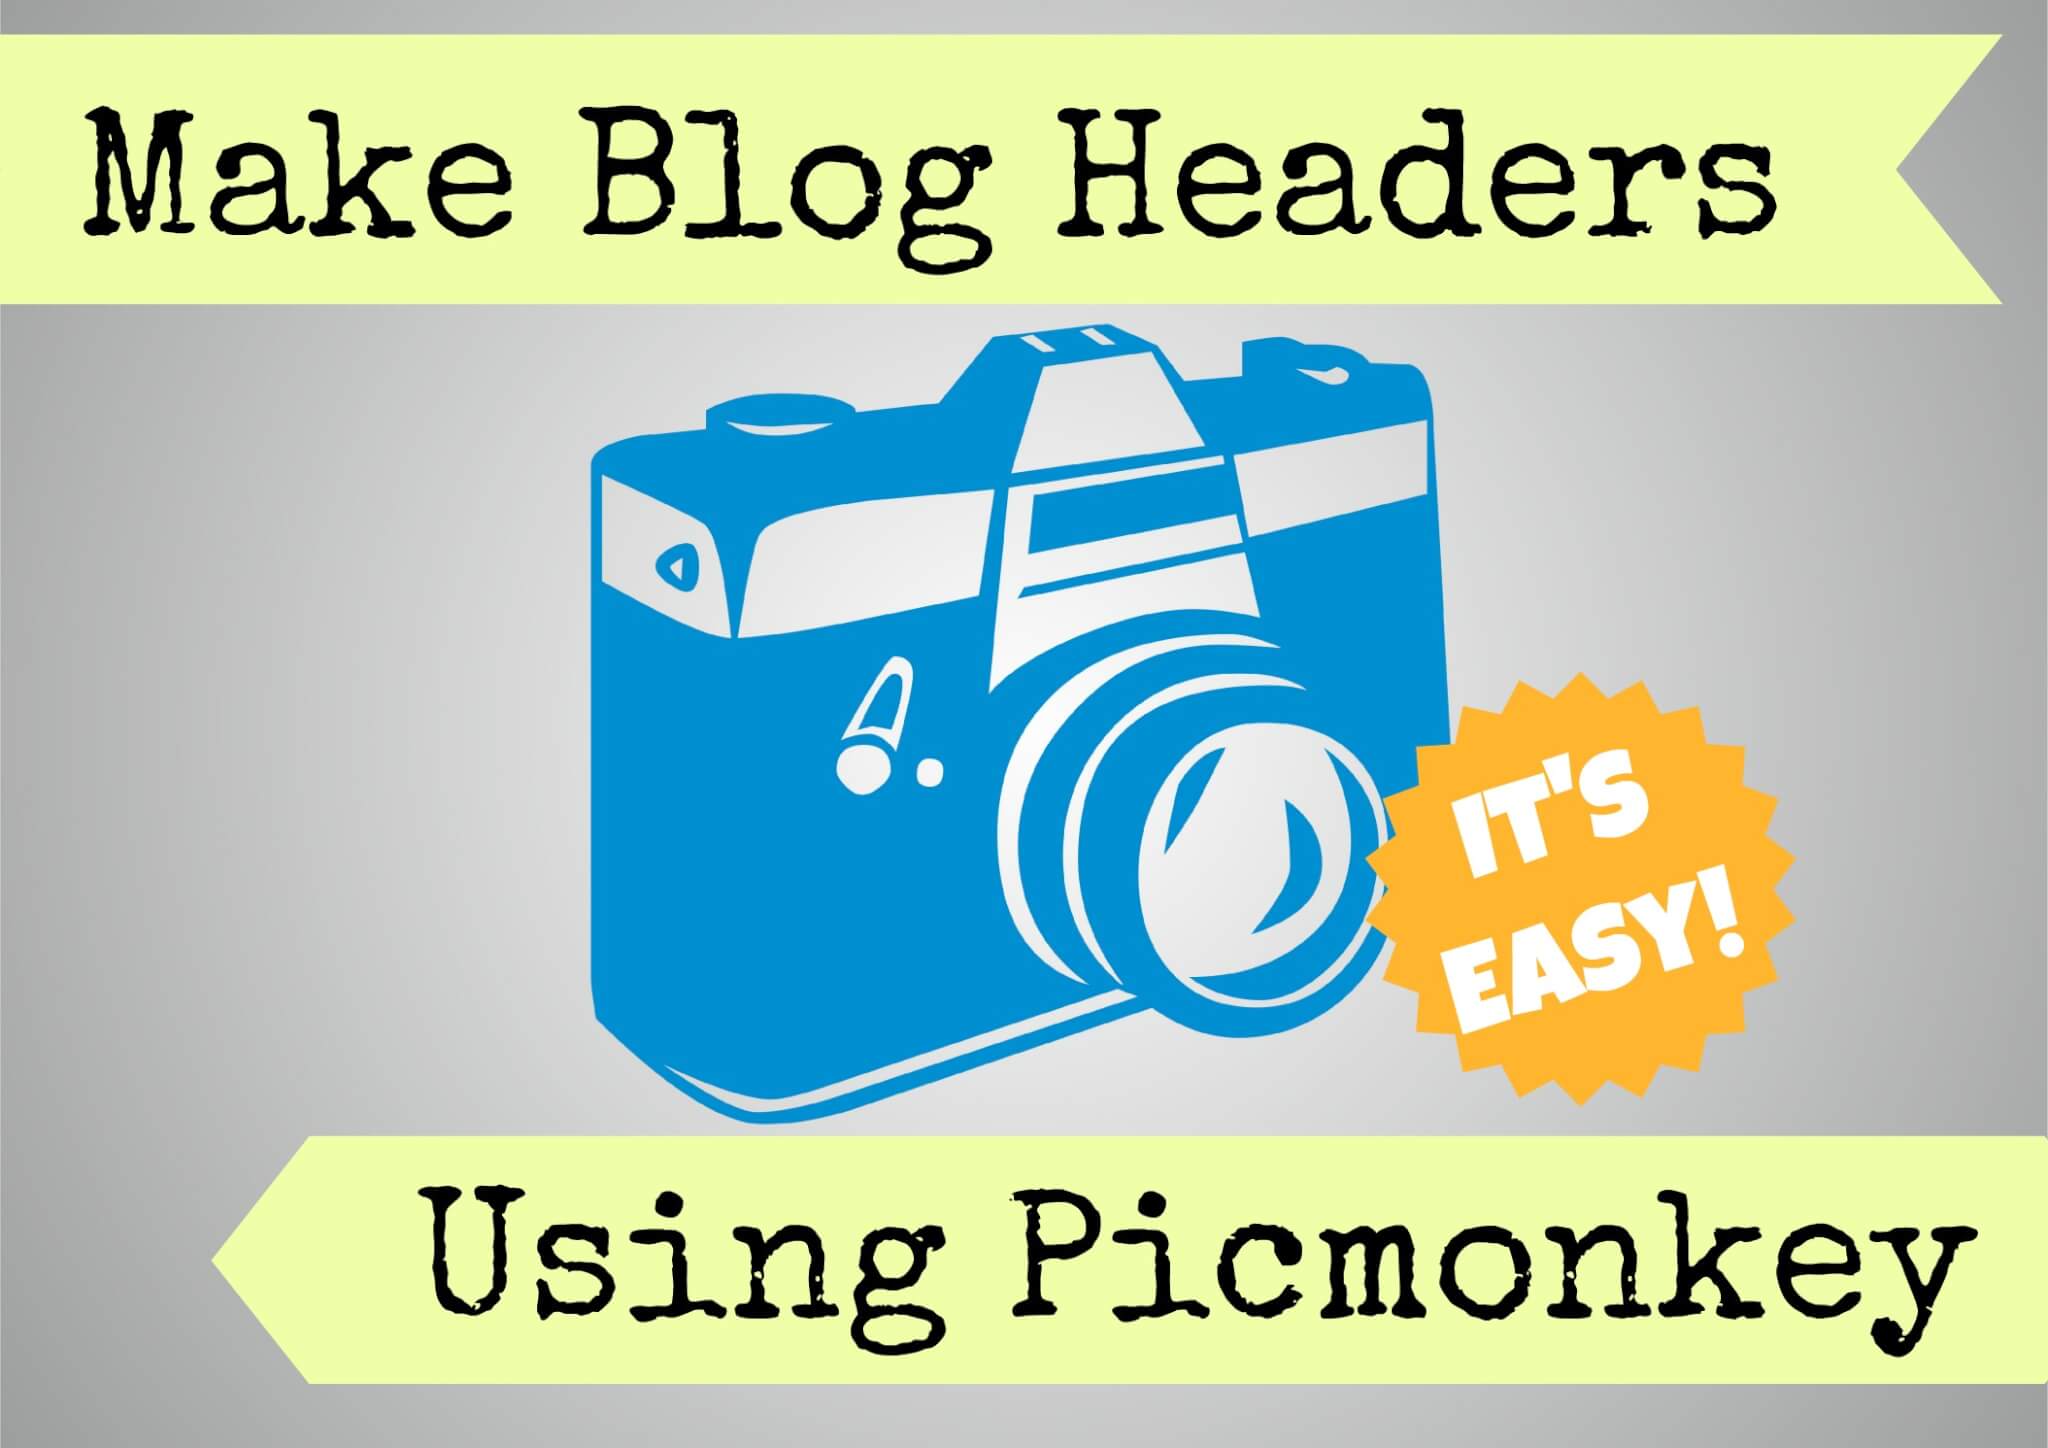
For this blog header, I knew I wanted to start with a picture of a camera. It helps to have some idea of where you’re going with your article or blog post, which is why I usually like to write my article before I design the header.

After you’ve signed up and logged in, type in a short description of what you’re looking for in the search bar. Depending on what you’re searching for, you may have to try a few things before you find something you like. While you may have some idea of where you’re going with the design, keep an open mind. You may not find exactly what you’re looking for and have to rethink your header.

Luckily, I found what I was looking for right away. Save the image to a secure location and now we’re ready to edit!
Step Two: Upload the Image to Picmonkey
Next, open Picmonkey in your browser. There’s no need to sign in or create an account but the free version doesn’t give you access to certain fonts, features, or effects. You can still create some really nice blog headers without spending a dime.

If you want to create effects on a collage of photos (for before & after shots, or to show a collection of your best work), you will want to visit “Create a Collage” first. After that, you will be able to edit it. If you’re just working with one photo, click on “Edit a Photo.”
Your saved image will load up with the Picmonkey tool bar on the left-hand side of the screen.

Step Three: Edit Your Photo
Take some time to review the tool bar. Not only can you crop or change exposure, you can also add effects, touch up someone’s makeup, include text, add icons, create frames, and add texture. The bottom icon that looks like a Jack-O-Lantern is where Picmonkey keeps the seasonal themes (since it’s October, themes are mostly Halloween-related, but there is a winter/Christmas one in there as well).
For most of my headers, I like to jump straight into the text and add the fun stuff later. My text is usually the same as my blog’s title. You can add as many text boxes as you like.

Click on your text to highlight it and bring up the text editing tool. There are a ton of options here. You can change your font back on the left-hand side, or use the little pop-up to change the size, color, or even the transparency of your text. flip your words vertically or horizontally, or delete them.
Pretty much the only thing you can’t do is create a “perspective” look like you used to do in WordArt. All your letters within the text box have to be the same size, orientation, and font.
Once you have your text set up, you can add icons in the Overlays tab of the toolbar (the one that looks like a butterfly).

I selected these banners. Just like with the font, once you’ve picked an overlay, you can change the size, color, direction, or transparency to create the look you want.
In this photo, you can see the bottom banner is overlapping my text. Just right-click on the icon to send it back through varying layers or bring it forward. I’ll admit, this is where it can get a little frustrating. Once you’ve layered text and overlays on top of each other, it takes some finagling to select just one of them if you want to make some changes. In this case, I decided to change the color again and then add a little pizazz!

I found this cute overlay that looked like an official seal and layered some text over it (“It’s easy!”). To rotate text or icons, simply click and drag the little circle sticking up at the top of the text box. You can also change the size and width of your text box by dragging on the circles in the corner, or the edges of the box. Now that you’ve got it how you like it, don’t forget to save!
Step Four: Save
Above your image, you will find a small, gray bar with the words “Open,” “Save,” and “Share.” “Open” simply lets you open another photo to edit, “Share” lets you post your photo on another site (like your Facebook or X pages), while “Save” allows you to save the image to your computer or hard drive. Clicking the “Save” button will bring you to screen shown below.

Picmonkey gives you three options for picture quality: Roger, Pierce, and Sean (10 bonus points if you get the reference!) Then, click “Save to my computer” and save in the location you prefer.
Step Five: Upload to Your Blog or Website
Once you’ve saved the completed image, it’s now ready for inclusion on any page, site, or account you like (and have proper access to).
Picmonkey is great for non-designers who are intimidated by software like Photoshop, but don’t want to sacrifice great visual content on their website. The interface is super intuitive, meaning you can jump right in without an hour-long tutorial first. But, like most things, there are some downsides.
- First, the free version does limit your options to only the most basic overlays, fonts, and effects. Anything with the little crown icon is only available through a “Royale” account, which is admittedly cheap, at $33/year. Well worth it if you’re going to be using it all the time, but possibly a frustration for those looking for a completely free software. (You can create some great-looking images with a free account, but most of the Royale features are the really really cool ones!)
- Second, it’s not Photoshop, so there will be some effects that you just can’t do on Picmonkey that you would be able to do on a more “professional” software. (Although we did figure out a way to curve text.)
- Third—and this is a biggie—there’s no way to save an edit in progress and come back to it later. We were hoping this feature would have been available once we upgraded, but currently, it doesn’t look like it’s an option. This would have come in pretty handy when designing blog headers for our recent series, “Web Design 101.” I wanted all headers to have the same exact background (with the same exact icons and effects) but have different titles that corresponded to each of the five posts. Luckily, I knew all five titles from the beginning, so I simply finished one, saved it, then changed it for the next one and saved again. Hopefully this is a feature that will be added in the future, but for now, it’s definitely workable and not a reason to stop using it. (Update (4/13/2017): Picmonkey now lets you save your images to “The Hub” so you can work on them later. It’s still a little buggy, but it’s a huge step in the right direction.)
What kinds of sites do you use to create great visual content for your blog? Let us know in the comments section!
Clarity Creative Group is a web design & internet marketing company located in beautiful Orlando, Florida. We don’t mind a $33 expense each year, even if it does leave less funds for a James Bond movie marathon at the company retreat.